Phone:
+971 56 432 4710
Physical address:
AL KHABEESI BUILDING salah Al din street Office no G-01 - 646 Dubai

Phone:
+971 56 432 4710
Physical address:
AL KHABEESI BUILDING salah Al din street Office no G-01 - 646 Dubai
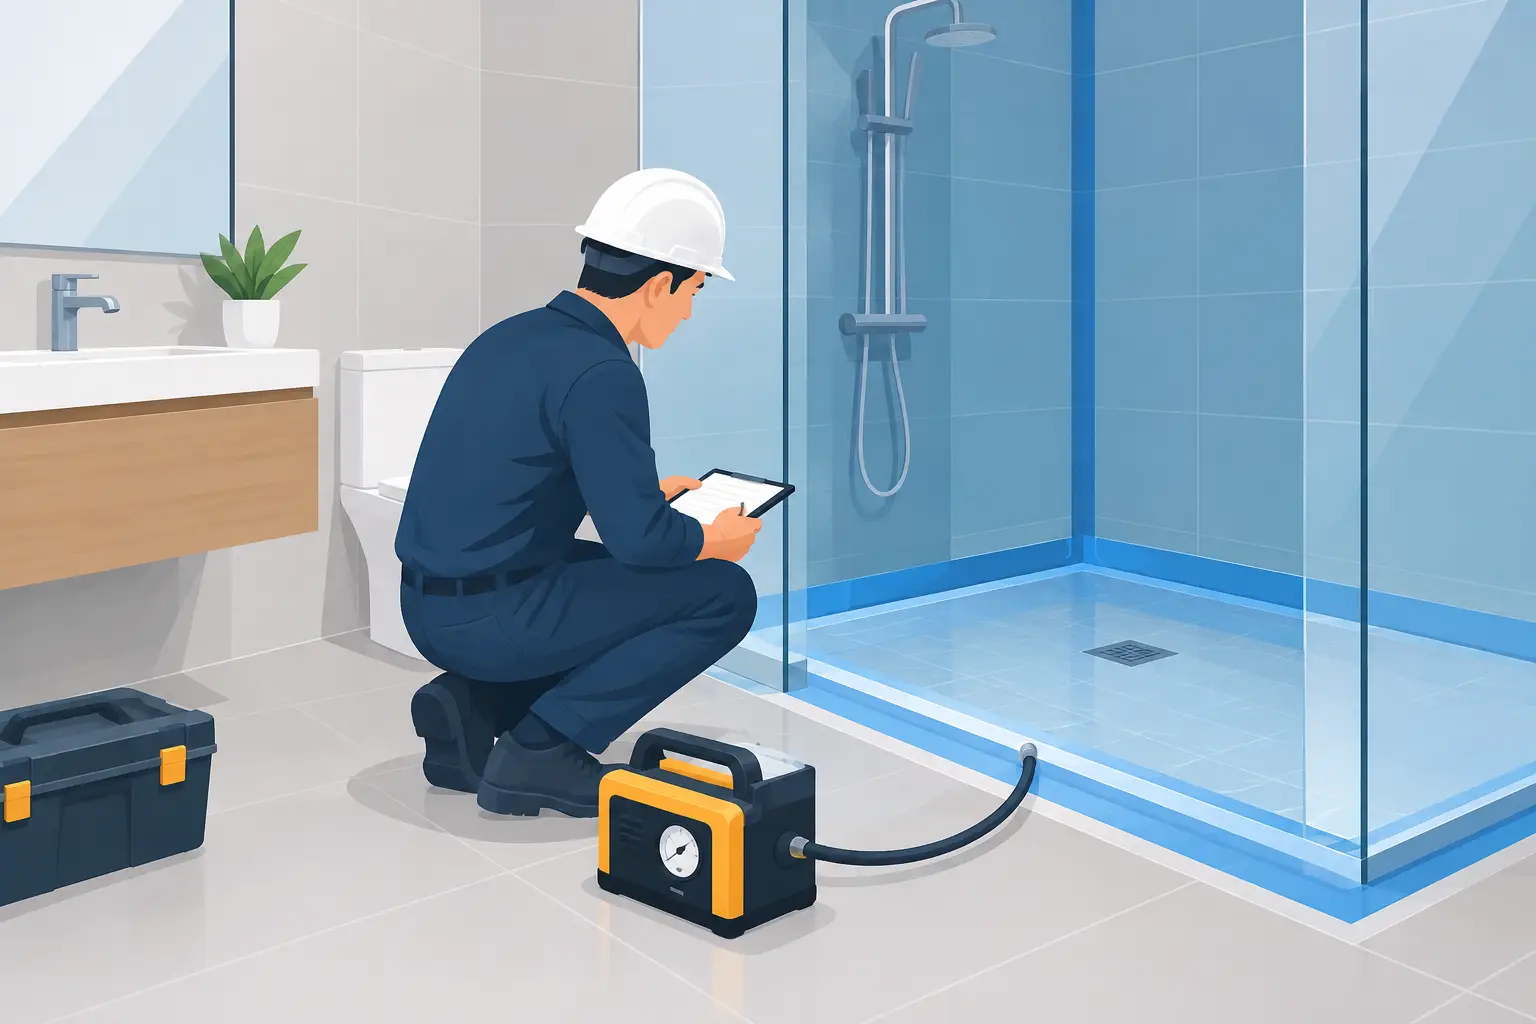
Learn how to test bathroom waterproofing before handover, spot early leak risks, and document defects for prompt, accountable repairs in your home property.
A bathroom can look complete while a serious defect sits hidden beneath the tiles. Fresh grout, polished fixtures, and a clean shower screen do not prove the waterproofing system is working. Knowing how to test bathroom waterproofing before handover, after renovation, or during a secondary-market inspection helps protect the rooms below, adjoining walls, and the value of your property.
Waterproofing failures are rarely minor. A slow leak can damage ceilings, cause paint blistering, loosen tiles, corrode concealed components, and create difficult disputes between owners, contractors, landlords, and tenants. The most reliable approach combines a careful visual inspection with controlled water testing and clear defect documentation.
Tiles are a finish, not the waterproof barrier. Water can pass through grout joints, around drain edges, through unsealed penetrations, and behind poorly finished silicone. The waterproof membrane beneath the tile finish must direct water toward the floor drain without allowing moisture into the slab, wall base, or neighboring areas.
This matters especially at property handover. Once a bathroom is in daily use, it becomes harder to establish whether water damage resulted from an original construction defect, poor installation, or later maintenance. Testing before acceptance gives owners a documented basis for rectification while the developer or contractor remains responsible.
Not every bathroom requires the same test. A newly completed shower area may need a formal flood test before finishes are installed. A completed apartment bathroom may require a controlled operational test that protects the finished surfaces and avoids flooding occupied units below. The right method depends on the bathroom design, drain layout, access conditions, and the stage of the project.
A waterproofing test should be planned, monitored, and documented. Do not simply block a drain and fill a finished bathroom without approval. Water can escape through an incomplete threshold, an unsealed door frame, or a concealed defect, creating avoidable damage. In multi-unit buildings, confirm access to the unit below or adjacent spaces before testing.
Begin by checking the areas where waterproofing failures are most likely to appear. Look closely at floor drains, shower corners, wall-to-floor junctions, niches, pipe penetrations, bathtub edges, shower glass channels, and the bathroom doorway.
The floor should fall toward the drain. If water pools in corners or along the wall after a normal shower, the issue may be inadequate slope rather than a failed membrane, but the result is still poor performance and higher leakage risk. Check whether drain grates sit level with the finished tile and whether grout, adhesive, or debris is restricting drainage.
Pay attention to silicone sealant. It should be continuous, firmly bonded, and free from gaps, shrinkage, staining, or separation. Silicone alone is not a substitute for waterproofing, but failed sealant around sanitary fixtures can allow repeated water entry behind finished surfaces.
Outside the bathroom, inspect the lower sections of nearby walls, skirting, door frames, and ceilings beneath the room. Warning signs include bubbling paint, swollen timber, musty odor, salt deposits, discolored plaster, or soft gypsum-board ceilings. These signs do not identify the exact source on their own, but they justify further investigation.
For a finished bathroom, a controlled operational test is often the practical first step. Run water through the shower, direct water at the wall-to-floor junctions, and allow sufficient volume to reach the drain under normal use conditions. Observe whether water drains quickly and whether it escapes beyond the shower zone.
Test the basin, toilet connections, bidet spray, and any bathtub or floor drain separately where applicable. A leak beneath a vanity or from a flexible hose can be mistaken for a waterproofing failure, so isolating fixtures helps identify the real cause.
During the test, inspect the bathroom threshold and adjacent room. Water should not travel under the door, collect at the entrance, or wet the wall base outside the bathroom. In properties with more than one floor, inspect the ceiling below during and after the test. Some defects appear immediately, while others become visible only after the area has remained wet for a period.
A flood test is the most direct way to assess the waterproofed floor area, but it must be performed carefully. It is generally most effective before final finishes are installed or when conducted by qualified professionals under controlled site conditions.
The drain is temporarily sealed with a suitable test plug, and the floor is filled with a shallow, measured level of water. The water level is marked and monitored for an agreed test period. A meaningful result requires more than checking whether the water remains on the floor. The surrounding areas and the underside of the slab must also be inspected for signs of leakage.
A drop in water level can indicate a leak, but evaporation, an imperfect drain plug, or movement over an unprotected threshold may also affect the result. This is why the test must be observed, timed, and recorded rather than treated as a quick pass-or-fail exercise.
Do not flood-test a finished bathroom without verifying the waterproofing extent and door-threshold protection. In some designs, the membrane may not extend far enough beyond the wet zone to tolerate a full-room flood test. A shower-area test, targeted moisture assessment, or alternative diagnostic method may be safer and more appropriate.
The most visible bathroom surfaces can remain dry even when water is traveling behind them. Inspect accessible ceilings below, service shafts, plumbing risers, and walls shared with bedrooms, corridors, or kitchens. A moisture meter can help identify elevated moisture in suitable materials, although readings must be interpreted correctly. Dense concrete, metal framing, and surface humidity can produce misleading results if testing is not carried out by an experienced inspector.
Thermal imaging may also assist in identifying unusual moisture patterns, particularly after water testing. It is a useful diagnostic tool, not proof by itself. Any suspected defect should be supported by visual evidence, moisture readings where appropriate, test observations, and a clear explanation of the likely source.
Bathroom testing often exposes workmanship issues that are easy to miss during a walkthrough. These include poor floor gradients, blocked or incorrectly installed drains, gaps around pipe penetrations, failed shower seals, cracked grout, incomplete waterproofing at wall junctions, and water escaping through thresholds.
In renovated bathrooms, another concern is damage to the membrane after it was installed. Drilling for screens, accessories, vanity brackets, or plumbing fittings can puncture waterproofing if penetrations are not properly sealed. Similarly, replacing tiles without addressing an existing leak may hide the symptom while leaving the underlying failure in place.
It is also worth separating plumbing leaks from waterproofing defects. If a pipe leaks only when a fixture is operating, the issue may be a connection, valve, drain trap, or supply line. If water appears after showering or washing the floor and cannot be traced to a fixture, the waterproofing system, drainage slope, or perimeter sealing requires closer assessment.
If a test identifies a concern, record the condition immediately. Photograph the test setup, water level, drainage behavior, affected finishes, and any moisture damage in adjacent spaces. Note the date, the area tested, the duration, and which fixtures were used. This creates a factual record that is far more useful than a verbal complaint.
A strong snagging report should identify the defect location, describe the observed condition, explain the risk, and state the required corrective action. For example, “water ponding at shower entrance due to inadequate floor slope” is more actionable than “bathroom drainage issue.” Clear reporting reduces debate and helps the contractor rectify the cause rather than applying a cosmetic patch.
In the UAE, this documentation is particularly valuable during pre-handover inspections and defect liability periods, when owners need to raise issues promptly and hold the responsible party accountable. SmartSnag inspections combine practical water checks, visual assessment, and detailed reporting to help clients identify defects before they become expensive repairs.
A professional inspection is advisable when there is visible water damage, repeated odor or mold, a suspected leak into another unit, poor drainage, recent renovation work, or an upcoming handover. It is also the right choice when a property owner needs an independent report that can support a rectification request.
Certified inspectors can assess the bathroom as part of the wider property system. They look beyond the shower floor to consider drainage, plumbing connections, adjacent finishes, ceilings, ventilation, and evidence of previous repairs. That broader view matters because water rarely stays where the original defect began.
A bathroom should not pass simply because it looks new. Test it carefully, document what you find, and insist on proper rectification before a small hidden weakness turns into damage that affects the rest of the property.