Phone:
+971 56 432 4710
Physical address:
AL KHABEESI BUILDING salah Al din street Office no G-01 - 646 Dubai

Phone:
+971 56 432 4710
Physical address:
AL KHABEESI BUILDING salah Al din street Office no G-01 - 646 Dubai
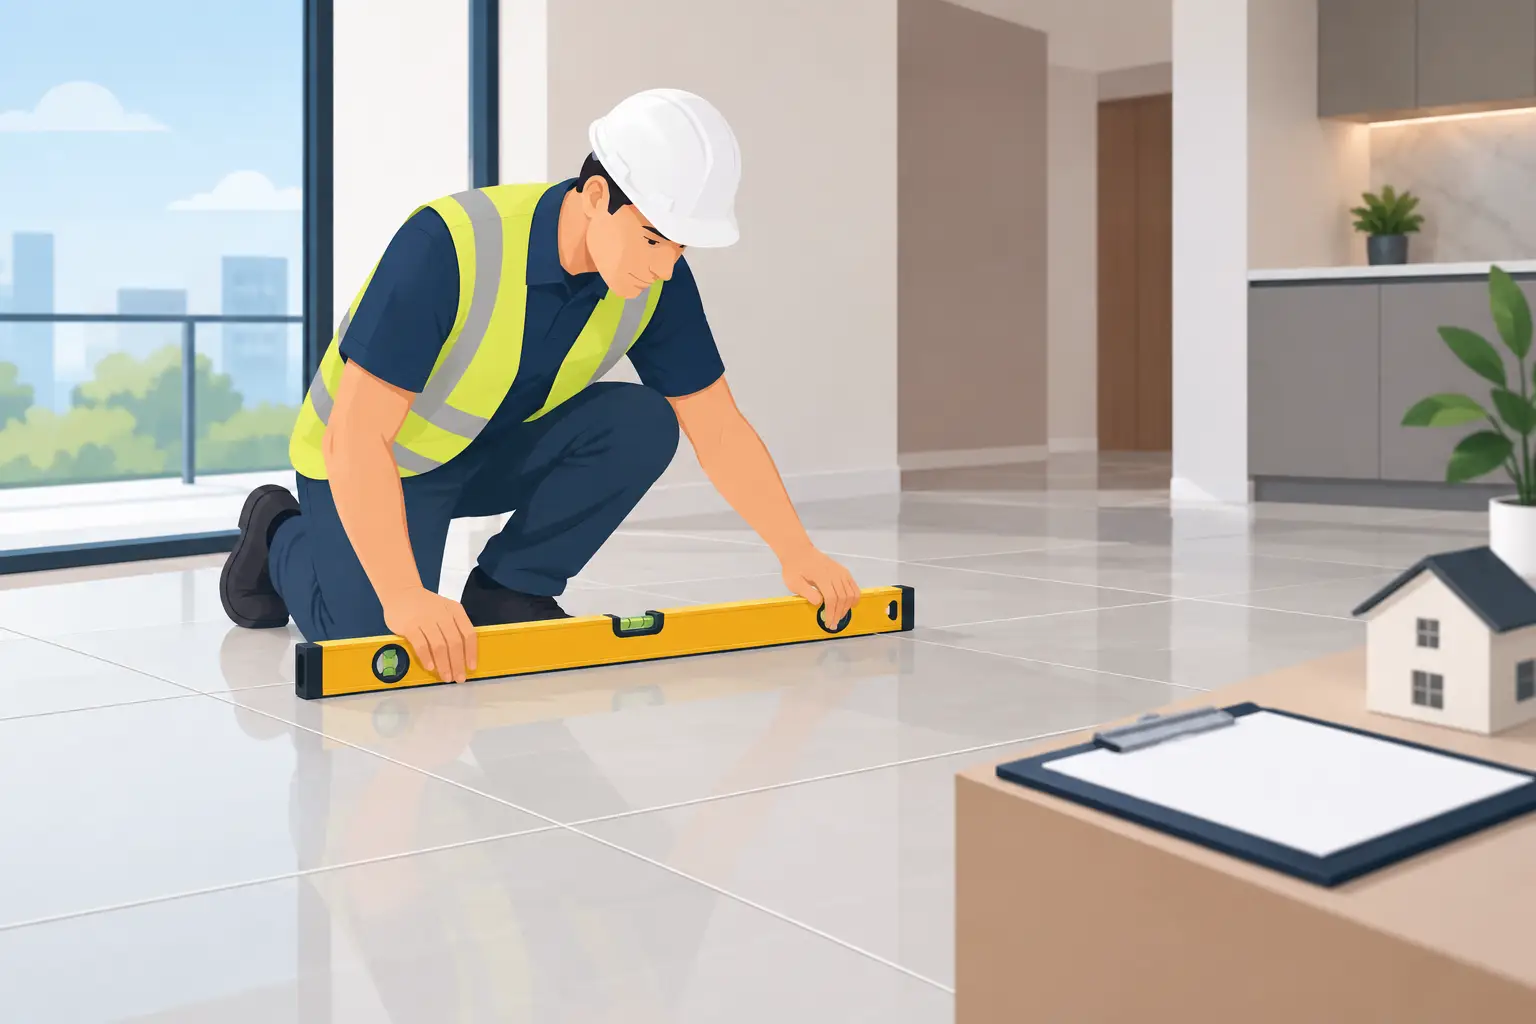
Learn how to verify tile levels before handover, identify lippage and slope issues, and document defects clearly to protect your property investment today.
A tiled floor can look clean from the doorway and still contain defects that affect safety, drainage, furniture placement, and long-term durability. Knowing how to verify tile levels before property handover helps you identify workmanship issues while the developer or contractor remains responsible for rectification.
This check matters particularly in new apartments, villas, renovated homes, and commercial units, where polished finishes can hide uneven installation until sunlight, bare feet, or standing water exposes the problem. Tile level verification is not simply about whether a floor appears flat. It is about confirming that tiles are consistently installed, transitions are safe, and areas designed to drain actually drain.
A properly inspected tiled surface is assessed for more than one condition. A floor may be level overall but have raised tile edges. It may be flat yet intentionally slope toward a shower drain or balcony outlet. These are different issues and should not be treated the same way.
The first condition is overall level or fall. In most dry internal rooms, the finished floor should be reasonably level unless drawings specify otherwise. In wet areas, balconies, terraces, and certain utility spaces, a controlled slope is required to direct water toward a drain without creating ponding.
The second condition is flatness. Flatness concerns localized highs and lows across the surface. A floor with a noticeable dip can make cabinets, appliances, or furniture unstable, even if the wider room is generally level.
The third condition is lippage. Lippage occurs when the edge of one tile sits higher than the neighboring tile. It is often most visible under side lighting and can be felt when walking barefoot. Minor variation may be influenced by tile size, tile warpage, grout joint width, and specified finish tolerances. However, pronounced lippage is a workmanship concern that should be recorded.
A visual check is useful, but it is not enough to support a clear snagging request. Reliable findings require basic measuring tools and a systematic method. Professional inspections commonly use a laser level, a long straightedge, a spirit level, a tape measure, and feeler gauges or a similar measuring device for gaps below a straightedge.
A laser level is effective for comparing floor elevations across larger rooms, hallways, and connected spaces. It can reveal an unexpected rise or fall that is difficult to notice by eye. A 6-foot or longer straightedge is better for finding localized unevenness, including dips, humps, and raised tile edges.
A small spirit level is useful for confirming drainage falls in bathrooms, balconies, and shower areas. For a detailed inspection, the tool must be placed in several directions rather than tested at only one point. Floors can drain correctly along one line while retaining water in another.
Do not rely on a phone level application for a handover decision. It may help you spot an obvious concern, but it is not a substitute for calibrated inspection equipment or documented measurements.
Start with a clean, dry surface where possible. Dust, protective coverings, construction debris, and loose grout can distort what you see and affect a straightedge reading. Review each tiled room separately, including corridors, kitchens, bathrooms, balconies, laundry areas, entrances, and external paved spaces.
Set up a laser level at a stable position and establish a reference line. Take measurements from the laser line to the tiled floor at multiple points around the perimeter and through the center of the room. Compare the measurements to identify whether the floor rises or falls unexpectedly.
In dry rooms, look for abrupt changes rather than assuming every floor must be perfectly horizontal. A slight variation can occur in construction, but sudden elevation differences, visible waves, or a pronounced slope without a design reason deserve closer review. Compare adjacent areas as well. Poorly managed floor transitions can create trip edges at bedroom doors, hallway connections, and threshold strips.
Place a straightedge across the tiles in several directions: lengthwise, crosswise, and diagonally. Check along grout joints as well as across tile faces. Look underneath the straightedge for visible gaps, then measure the largest gap if one is present.
Move systematically across the room instead of testing only the center. Problem areas often occur close to walls, at doorways, around floor drains, and where installers have made cuts around columns or cabinetry. Mark each concern with removable tape so it can be photographed and located accurately later.
A straightedge test is also useful for checking whether a large-format tile installation has been properly prepared. Larger tiles can make even small substrate irregularities more visible. They require particularly careful setting because uneven edges are easier to feel and see across wide tile faces.
Run your hand carefully across tile joints and inspect the surface from a low angle. Natural light from windows or a flashlight held close to the floor can reveal shadow lines caused by raised edges. Repeat this check around doorways, at tile cuts, and where different tile batches or formats meet.
Not every detectable edge difference is automatically a defect. The acceptable degree depends on the tile type, installation pattern, grout width, manufacturer guidance, and project specification. Still, lippage that is visually obvious, uncomfortable underfoot, catches a shoe, or creates a sharp edge should be documented for review.
Pay close attention to polished porcelain, marble-look tile, and dark glossy finishes. These surfaces reflect light strongly, making unevenness more apparent after handover. What looks acceptable under bright site lighting may become highly visible in normal residential use.
Bathrooms, showers, balconies, terraces, and laundry spaces require a different approach. These floors should not be perfectly level. Their purpose is to direct water toward a floor drain, channel, or external outlet.
Use a spirit level to check the direction of fall from multiple points toward the drain. Then conduct a controlled water test where permitted and safe to do so. Pour a modest amount of water in several areas, particularly corners and areas furthest from the drain. Observe whether water flows freely or remains in shallow pools.
Ponding water can indicate an incorrect slope, a low spot, blocked drainage, poor drain placement, or a drain cover installed above the surrounding tile level. Record the location, approximate extent of standing water, and the time it takes to clear. In a shower, water must not flow away from the drain toward the bathroom door or adjoining dry area.
External tiled spaces need extra attention in the UAE, where heat, cleaning, and occasional heavy rainfall can expose drainage failures quickly. Water retained on balconies or terraces can lead to staining, slip hazards, moisture migration, and disputes over waterproofing performance.
Tile levels should be checked at every change of material. Examine transitions between tile and wood-look flooring, carpet, stone, metal thresholds, shower trays, and drainage channels. A sudden height change may create a trip hazard or indicate that finishes were not coordinated correctly.
Also inspect skirting tiles, wall-to-floor joints, and expansion joints. Uneven floor installation can force installers to use inconsistent sealant lines, oversized grout joints, or awkward trims to hide level issues. These details do not always prove a defect on their own, but they can point to areas that need measurement.
In bathrooms, confirm that the finished tile level does not compromise the door swing, shower screen operation, or waterproofing termination. At balconies, check that the threshold arrangement protects the internal floor from water ingress while still allowing external drainage to function.
A vague note such as “tiles uneven” is easy to dismiss. A useful snagging record identifies the exact room, location, condition, measurement, and supporting evidence. Include photographs showing the straightedge or level in position, plus wider photos that establish where the defect sits in the room.
Your report should distinguish between an uneven floor, excessive lippage, incorrect drainage fall, standing water, and an unsafe transition. This gives the developer or contractor a clear basis for assessing rectification. It also reduces the risk of superficial repairs that conceal the appearance of a problem without correcting its cause.
Where a level concern is widespread, ask for the proposed repair method before accepting the work. Isolated lippage may sometimes be corrected by replacing affected tiles. A large dip, incorrect bathroom slope, or repeated hollow and uneven tiles may require more extensive removal and substrate preparation. The right remedy depends on the cause, not just the visible finish.
Property owners can identify obvious tile concerns during a walkthrough, but a certified inspection provides stronger evidence where handover quality is in question. This is especially valuable for large villas, premium finishes, investment properties, post-renovation inspections, and units with multiple bathrooms or balconies.
A professional snagging inspection assesses tile levels alongside related conditions such as hollow tiles, cracked grout, chipped edges, drainage performance, sealant quality, floor transitions, and waterproofing risk indicators. SmartSnag documents these findings with clear photographs and rectification guidance, helping clients raise actionable defects before they become costly maintenance issues.
Before signing off on a tiled finish, take the time to inspect it under proper lighting, test the areas where water will travel, and record any concern with evidence. A floor should support daily life quietly and safely, not become a repair dispute after the keys are handed over.